This tutorial shows you how to embed images in Illustrator, something we need you to do before sending your files to us for printing.
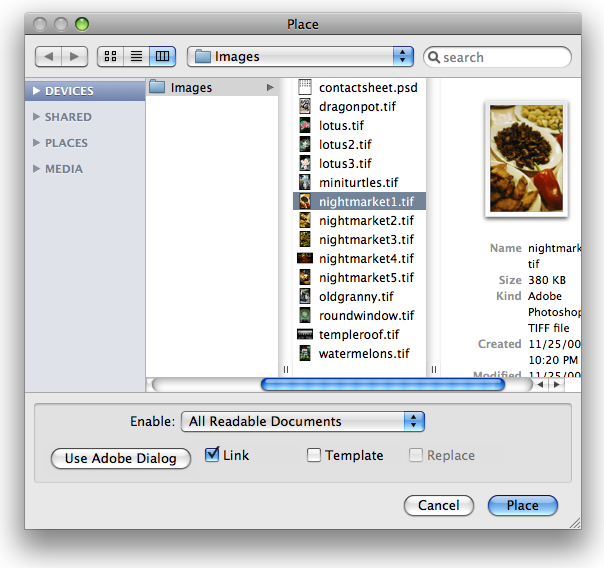
When placing images into Illustrator, you have the option of making the image a ‘link’. This is an option that can be selected in the Place dialog box, see the image below.

This allows you to easily edit the image file in another program such as Photoshop, and the changes will automatically be updated in Illustrator without the need of placing the file again. This is great for your work flow, but the problem is, when sending to print, if the links are preserved (not embedded), we will not be able to see these linked images in your file.
There is a very quick and simple solution to this problem, that we need you to do, before sending your files to us. Its called embedding images. This tutorial will show you how to do that.
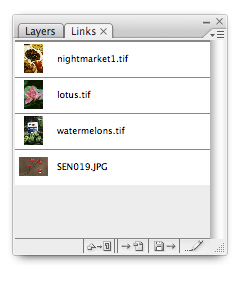
Firstly, open your ‘Links’ palette (if it is not already). This can be found at Window > Links. In your links panel you will see a list of all the images in your document.

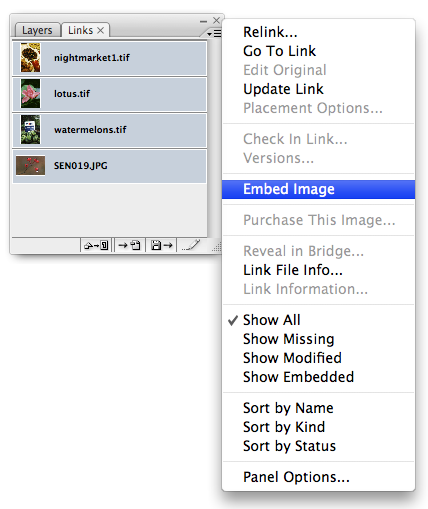
Highlight all the images in the list and click on the drop-down contextual menu in the top right of the palette under the X. Then select Embed Image. Simple as that.

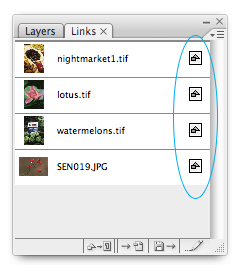
You will notice a small icon appear next to the name of the images. This means it has been embedded, its a good way to quickly check if you have all your images embedded before send your file off to print.

