
Canva is a great tool for creating designs if you don’t have access to professional design software like the Adobe Creative Suite or Affinity.
The main drawback is that it can only export in RGB, whereas we need data to be CMYK to print. For Canva files we can do the conversion for you as long as you accept that colors may become duller after the conversion as bright RGB tones cannot be produced in CMYK.

With that in mind following the instructions below will get your data as close as possible to being print ready.
Using Canva templates vs. Using Custom Dimensions
Canva has wide selection of templates to choose from, although when using them you will be limited to certain sizes.
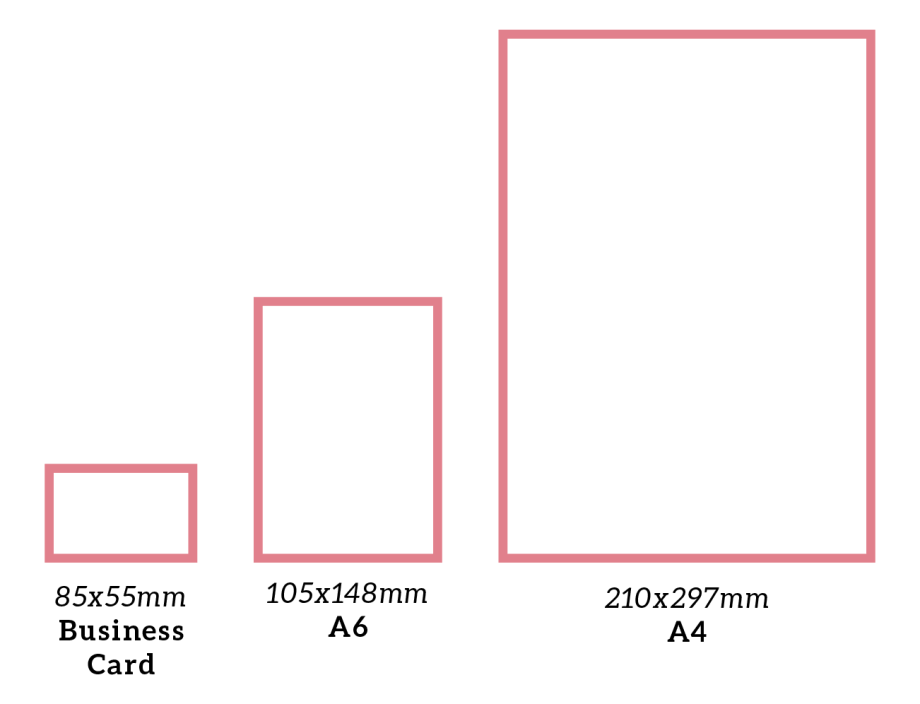
The most useful template sizes are:
- Business Card* (85x55mm)
- Card (148x105mm / A6)
- Flyer (210x297mm / A4)
* Note that Canva’s business card size is different to the standard Japanese business card size (91x55mm), so when using a Canva template make sure to specify that it is 85x55mm when ordering.
If you want to create a custom size not available on Canva, then you will have to start from scratch with the “use custom dimensions” option, available from the Home page.

Using Canva temples:
Margins and bleed:
Make sure that text and logos aren’t too close to the edge. We recommend keeping important objects at least 3~5mm inside the cutlines. Canva does have guides but they are a bit counter intuitive to setup, so it’s better to be generous with your margins.
Be sure to turn on the visibility for rulers, margins, and print bleed margins from the file menu as they are off by default. This will help see where the design will be trimmed after printing, and the margin around the edge that gets cut off (the bleed).

To give you some idea here are what 5mm margins look like at business card, A6 and and A4 size:
Exporting
When your design is ready, click on the [Share] button at the top and then select [Download]. Select the “PDF Print”, file type, and check the box that says “Crop marks and bleed”, and click download. In some cases “Flatten PDF” can also be useful but for most designs it is not required.
The color profile choice is limited to RGB unless you are using Canva Pro – in which case please change it to CMYK.

Once you have downloaded the PDF, open it and make sure that the bleed is set up correctly. If the background stretches to the edge of the crop marks like the example on the right below, then you are ready to order. If the background stops before the crop marks like the example on the left below, then it’s likely that the template you are using doesn’t include bleed or you didn’t drag the background elements to the edge of the bleed margin. Go back to the Canva doc and edit to fix before downloading again.
Happy Canva-ing!