Black. It can’t get simpler than that right? Unfortunately with colour printing and black it’s not so simple and if you aren’t careful things can go very wrong. Read this guide to master the black arts!
TL;DR version
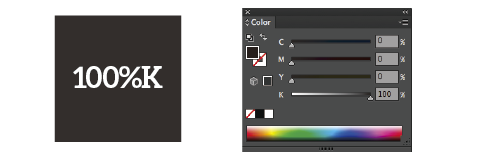
100%K (C:0, M:0, Y:0, K:100): Use for small black text or black backgrounds with small white text
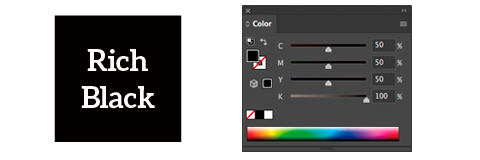
Rich black (C:50, M:50, Y:50, K:100): Use for larger areas of black or large black text – especially when placed over photos.
You tried to protect Captain Mojo’s dignity by covering his crotch with a black box, but when the prints arrived you noticed the box was see-through. What gives!?

To understand why this happens, let’s first have a look at three different kinds of black:
Types of black
100%K or flat black
Black using only the “K” (black) ink with no other C, M or Y inks.

Rich black
Black using a combination of all four inks to create the deepest black possible.

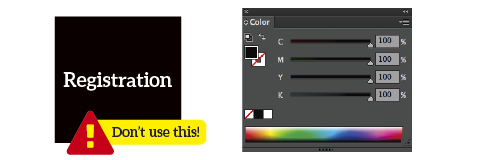
Registration
100% of all inks. This is used to in printing to check that the plates are aligned correctly. You should never use it in your designs. If the total % of all four CMYK inks together goes over 280%, then the ink may take too long to try causing your prints to stick together or smudge. The C: 50, M: 50, Y: 50, K: 100 specified above is a good maximum.

The black box covering Captain Mojo’s nether regions was 100%K. It is standard practice in the printing industry for 100%K to be overprinted. This means than any objects below the shape will be printed in their entirety and will show through. This is the opposite of “knock out” where objects that don’t overprint create a hole in objects below.
100%K is the only colour that will overprint by default. So by reducing the K ink to 99% or adding just 1% of another ink you will knock out anything below. In the image below the box is now rich black and so knocks out everything below. Captain Mojo’s dignity is saved!

Why use 100%K?
Rich black is deeper and doesn’t let objects below show though. Sounds good right? It is for large areas of black, but when it comes to small text, 100%K is the way to go. Just take a look at these examples:
Black text on white
100%K

As it’s only using one ink, this produces nice crisp text.
Rich-black

Because this uses 4 inks, any slight registration issues with the plates will cause blurry text with coloured fringes.
White text on black
100%K background
Using one ink creates crisp text.

Rich black background
Registration can cause the text to become lighter and show coloured fringes.

Black text on a coloured background
100%K with 1% Cyan
Adding 1% of cyan knocks out the background, making the text look like 100%K (not so deep in colour). Also because the background is knocked out, a white halo may appear around the text.

100%K

Because the 100%K ink overprints the background, you end up with rich black text and no problems with registration.
Rich black
Registration may cause the text to appear blurry with coloured fringes.

